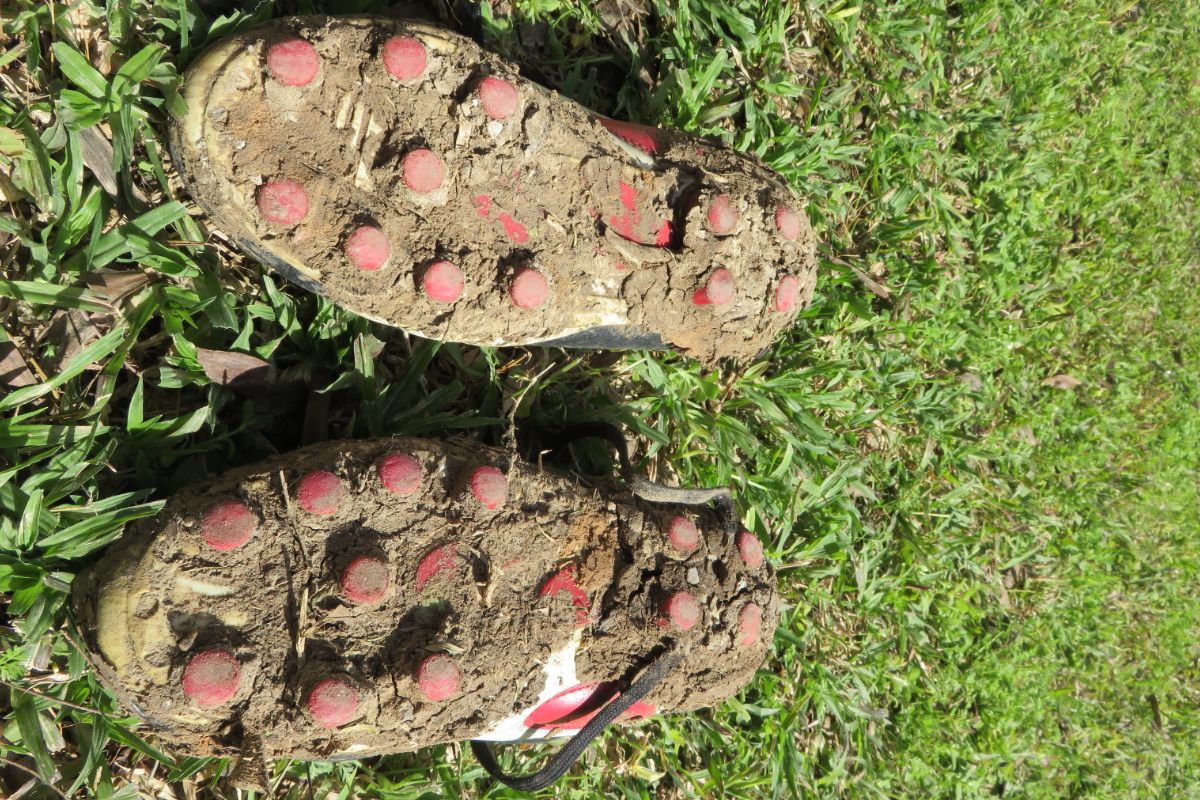
Any soccer player will tell you that your cleats are the part of your uniform that can get really dirty, really fast. You might leave the soccer field with mud and grass caked all over the bottom and sides of your cleats. If it’s been raining, you’ll have mud all over you!
It’s important to keep your soccer cleats clean because these are what you use to control the ball and play the game itself. Plus, if the studs are filled with dirt and mud you will not have proper traction which could lead to slipping or falls that cause injury. If you don’t keep them clean, your cleats will wear out, may become misshapen, and you won’t be able to play as well.
Simply follow this step-by-step guide to cleaning your cleats and they will last much longer.
Step 1: Brush Off Excess Dirt
The first step in the cleaning process is actually something you should do while you’re still at the soccer field. Take your cleats off and change into some regular sneakers. Then, bang the studs of the cleats against each other to knock off most of the dirt that gets caked to the bottom.
Once you’re back at home, simply brushing off the rest of the dirt with a cloth or brush is all you need to do. We’re not trying to completely clean the cleats with this step, simply to make them easier to clean in later stages.
Step 2: Remove And Clean The Laces
Just like with any pair of shoes, the laces should be cleaned separately.
Remove them completely from the cleats and then leave them in a solution of hot water and soap for about 10 minutes. You can use a cloth or brush to rub some of the dirt off of them during this period. But don’t use a wire brush as this may tear the laces.
Once they look clean, lay them flat on a towel to air dry or pat them dry with the towel.
Step 3: Create Your Cleaning Solution
This step makes another solution of warm water and soap.
A general rule of thumb is to use about two cups of warm or hot water for every tablespoon of soap that you use. This could be dish soap, hand soap, or even some specially-designed sports cleaning detergent.
Step 4: Wash The Soles
Now that you have most of the dirt off of the bottoms of your cleats, it’s time to use your cleaning solution.
A soft-bristled brush or cloth is all you need. Simply dip the brush into your soapy cleaning solution and lightly scrub the soles or studs of the shoes.
It’s important to get around all of the studs carefully and make sure you clean all of the tight nooks and crannies. In fact, a toothbrush is a great way to make sure you get into all of these tight spaces and clean the studs of your cleats thoroughly.
Step 5: Wash The Upper Part Of Your Cleats
Now, it’s time to repeat the process of the last step on the upper portion of your soccer shoes.
You likely won’t need a toothbrush for this section because there aren’t as many tight spaces that need to be cleaned. Plus, you don’t want to use anything too abrasive that might damage the upper. This is particularly true for real leather shoes.
Instead, simply dip your cloth or brush into the cleaning solution and scrub every section of the upper part of your cleats. It doesn’t really matter what order you wash the shoes, though it is easier to work on different sections individually.
For example, you could start with the middle part of the cleats, focusing on the area around the laces. Then, work on each side, the front, and finally the heel.
Make sure you remember to scrub the tongue of the shoe as well, pulling it out as far as you can without damaging it to ensure you get the whole tongue clean.
Step 6: Use A Cleaning Eraser Sponge
If you don’t already own a cleaning eraser sponge, there are plenty you can find online.
They are great for giving a sparkling shine to your cleats after you’ve removed all of the dirt with soap and water. Simply dip the cleaning eraser sponge into some warm water (you don’t need a soap solution to use this) and wring it out until most of the water is gone.
Then, rub the eraser all over the upper section of the cleats, not on the soles. This is also another thing you should try to cover the tongue of the cleats with.
Step 7: Dry Your Cleats
The final step in the process is to dry your cleats off properly.
We won’t get into the full specifics of this process here, but this quick breakdown should tell you everything you need to know. You can check out our article about drying cleats here.
Scrunch up some newspaper, loosely, and stuff it inside your cleats. Try not to scrunch it too tightly because you want to roughly recreate the shape and size of your foot. Then, leave the cleats to air dry in an airy place, out of direct sunlight.
It’s important that you don’t leave the cleats somewhere in direct sunlight or where they will get too hot. Excessive heat will warp and misshape them pretty quickly.
Of course, you should also never dry your cleats in a drying machine. This is a sure-fire way to have your cleats fall apart after only a few times doing this. Save yourself the money of replacing them and just leave your cleats to air dry instead.
How Often Should I Clean My Soccer Cleats?
You should clean your soccer cleats thoroughly, the way we’ve described in this guide, at least once per month. However, you should also do routine light cleans after every time you use them.
Something as simple as banging the studs of your cleats against each other to get rid of excess mud is often all you’ll need to do.
Final Thoughts On Cleaning Soccer Cleats
That just about covers everything you could possibly need to know about cleaning your soccer cleats to make sure they stay comfortable and in good shape! This can seem like quite a lengthy process at first but, after a few tries, it won’t take you too long to completely clean your cleats.
Now, enjoy heading out onto the soccer field with the freshest-looking cleats on your team!