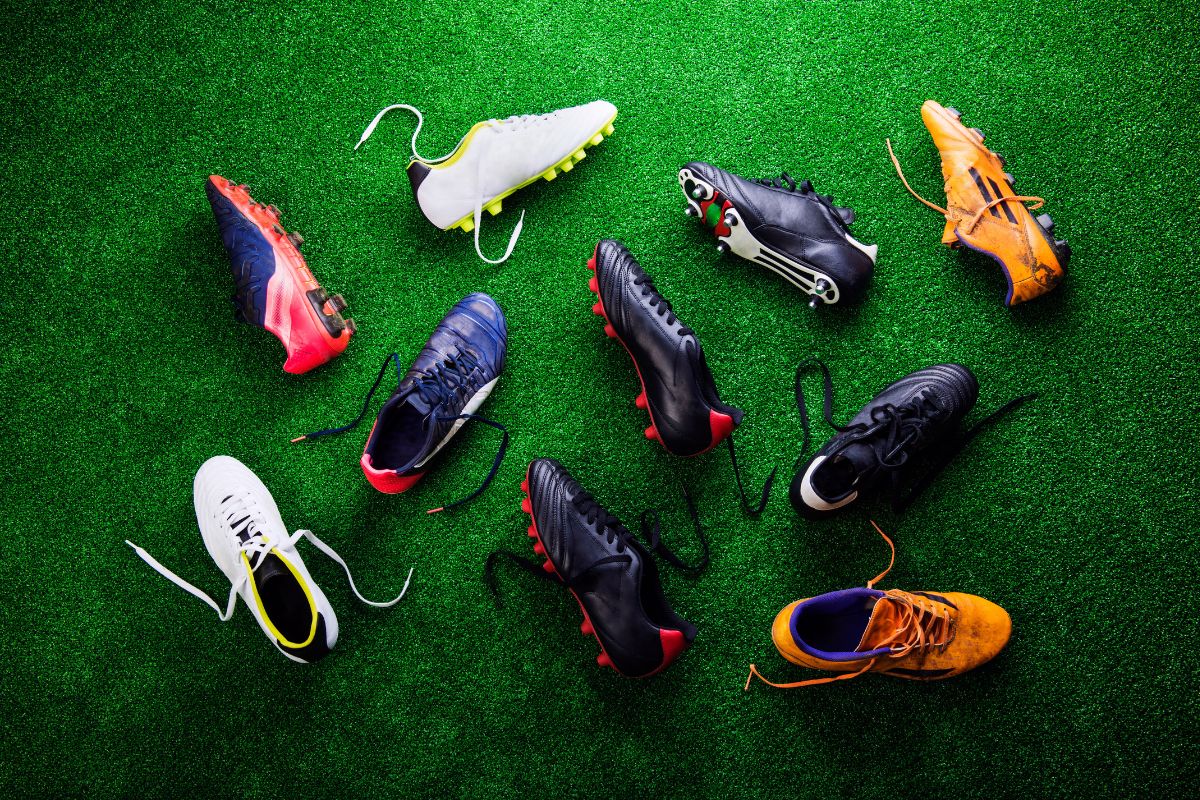
Drying Wet Cleats
As a soccer player, you know just how tedious and time-consuming it can be to wash and dry your cleats. Of course, you don’t have to wash them after every game you play but they will start to look a little worse for wear, pretty quickly.
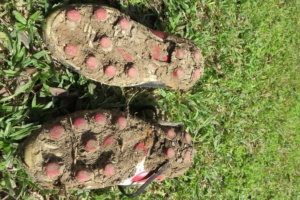
If you don’t look after your cleats properly, the materials will deteriorate and you’ll be left with footwear that may actually make you play worse.
So, you might be wondering what the best way to wash and dry your cleats is. Plus, if you end up playing in wet weather. You will at least need to dry them so they are ready for your next match or practice.
The first thing to note is that you should never put your cleats in the dryer. This will end up doing way more harm than good and you could end up damaging your cleats beyond repair. You might even damage your dryer too!
Excessive heat is never good for soccer cleats. If you have shoes with a synthetic upper the heat might melt the material. It can also cause unusual contraction of leather uppers, causing them to become misshapen or tear the seams. Most football boots have molded plastic studs. Extreme heat (ex: the high setting on the dryer) could even melt the studs. If you have metal studs you could damage the inside of the dryer too!
How To Dry Soccer Cleats
We’ve established that you definitely shouldn’t dry your cleats in a drying machine. So, what is the best way to do it? After you’ve washed your cleats thoroughly, these are the things you should do to ensure that they dry properly:
Preparing The Cleats
In order to start the drying process, you will need to prepare the cleats properly.
First, remove the laces (if you haven’t done so already while washing them) and leave them on a towel, to one side. This will allow you to better open up the cleats. The laces will tighten up the fabric and material of the shoes, restricting natural airflow. Removing them will help the shoes dry.
Next, it is also important to remember that the materials will contract slightly as they dry, which creates tension at the seams. To reduce this tension and promote proper airflow, pull the tongue of the cleats up and spread each part as wide as you can without tearing anything.
Lastly, if your cleats have an insole, remove this as well and set it to one side with the laces to dry separately.
Pat The Cleats Dry
The first step in the process of drying out the cleats is to simply pat them all over with a paper towel or cloth. If you have cleaned them thoroughly, your cleats will have a lot of water resting on the surface that can easily be removed. This is also the case if you just finish a rain-soaked game or practice.
You don’t have to worry about getting them completely dry but doing this will help a lot in the later stages of the drying process. This will also reduce the time to dry as well as the chance of growing mold or damaging the leather.
Fill Your Cleats with Newspaper
This is a surprisingly crucial step in the drying process that you’ll definitely be thankful for in the long run. Remember what we said before about cleats contracting as they dry? One of the aims of this step is to avoid that happening.
Simply ball up some old newspaper and fill your cleats with it as much as you can without stretching the leather. Of course, you’ll never completely stop the cleats from contracting by doing this but it does help a little.
The main aim of this step is to absorb the moisture quickly inside the shoe, which helps to prevent mold from forming. You should also avoid scrunching up the newspaper too tightly. When it’s loose, the newspaper will absorb more of the moisture inside the cleats.
If you don’t have any old newspaper lying around, any absorbent material like paper towels and napkins will do the trick just fine. It’s also a pretty neat tip to change out the newspaper every couple of hours while the cleats are drying. This will speed up the process.
Place The Cleats In A Dry Area
Now that the cleats have been properly set up, the only thing left to do is leave them to dry.
The perfect place to dry cleats is somewhere with air flowing through it, out of direct sunlight, and definitely not humid or damp. If you have space in your backyard where there is no direct sunlight and you know the weather will be good, this is the perfect place. It allows a natural breeze and a warm temperature to dry out the cleats quickly.
If your only option is indoors, place the cleats in the garage, next to an open window, or by a small fan. A fan will mimic the natural breeze you’ll get from the outdoors. However, you should not use a heater with a fan. This will cause the materials in the cleats to contract and warp as they dry.
As long as you leave the cleats in this place for several hours or, preferably, overnight, they’ll be nice and dry to be used again the next day!
Final Tips To Remember While Drying Your Cleats
The first thing to remember about drying your soccer cleats is to never use a drying machine to dry them. You should never use excessive heat while drying your cleats. This also means you should also never use an oven, leave them in direct sunlight, or use a heater with a fan to dry them.
The heat could pull apart the stitching and weaken the materials used to construct them. In fact, it could even melt the plastic cleat molds or synthetic upper. It may also alter the shape of the cleats as they dry, leaving them with a poor fit.
As long as you follow these tips and the simple steps we’ve outlined in this article, your cleats will stay squeaky clean and bone dry for your next soccer game.

0 Responses